Installing a Torque Converter and Flexplate...
|
After the first trip to the dyno, we discussed future mods - Robert & Mike both thought that a higher stall
torque converter would make a huge difference - I've found that both my cross-fire cars "bogged" at low rpm -
lots of noise, but not lots of power...
The end result is that the car now comes off the line with much more torque -
I noticed the rear end starting to drop on launches, telling me that I was leaving the line
with more power to the wheels...
We also installed a "Super Servo" the same day - click here to see that tech article...
Parts Used:
2100 stall torque converter from Dacco - 27 spline due to the year of the tranny..
Stock replacement flexplate for 2 piece rear main seal...Mine had a broken tooth :(
Tranny fluid
|
|
1) Disconnect TV cable under the hood (can be done later, but is harder after you lift the vehicle)
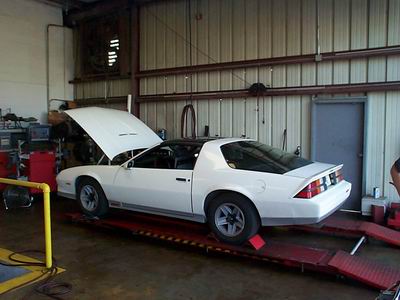
2) Raise the vehicle - I am fortunate to have a teacher who has a lift in his classroom-
if you don't have a lift, make sure you support the car appropriately -
you'll also need a way to raise & lower the tranny...
|
|
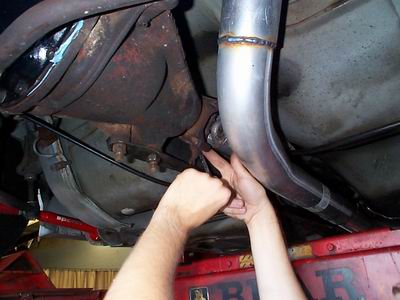
3) Remove the driveshaft...
Remove the yoke bolts & straps
Later, when you have enough room from disconnecting other items,
slide the drifshaft out of the transmission
On my car, the driveshaft won't come out from the rear of the car
since that nice 3" exhaust and the torque arm are in the way...
We had to remove it from the front of the car...
|
|
TIP: We disconnected the shift lever so we could put the car in gear
to rotate the tire and the driveshaft to reach all the driveshaft bolts...
|
|
4) Remove the Speedo cable
5) Remove the torque converter lockup switch electrical connector near the shift lever
6) Remove the Torque arm / exhaust mounting bracket
|
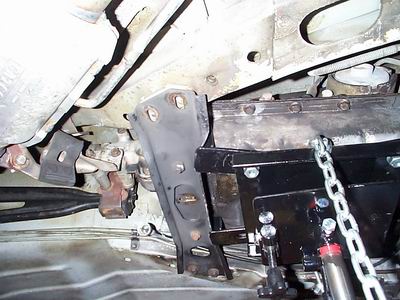 |
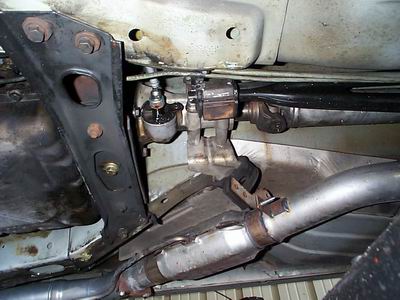
7) Support the transmission - take care not to damage it!
8) Remove the transmission mount bolt
9) Remove the transmission crossmember (Don't drop it on your head or foot - DOH!)
|
 |
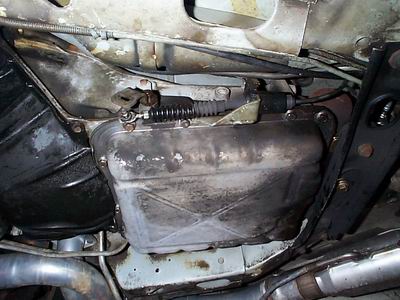
10) Remove the bell housing dust cover
11) Remove the torque converter to flex plate bolts -
use a long screwdriver to rotate the flexplate & torque converter to get to all the bolts
12) Remove the bellhousing bolts - an impact wrench with a 2 ft extension and a "wobbly" socket makes this too easy...
13) Lower the tranny slowly - watch your cooler lines & tv cable - make sure they aren't about to break
14) Remove tranny cooler lines
|
 |
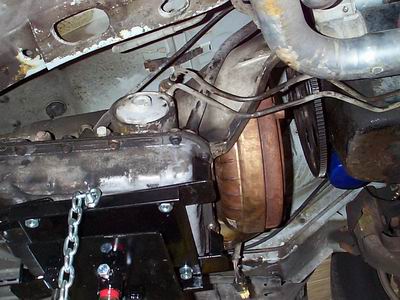
15) Carefully move transmission back
16) Remove Torque converter from tranny input shaft - enjoy the fluid running everywhere...
|
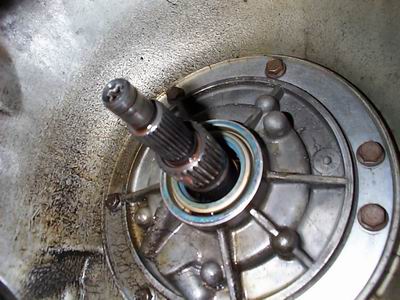 |
16) Count your input shaft splines - should be 27 or 30 - this will ensure you get the right converter
|
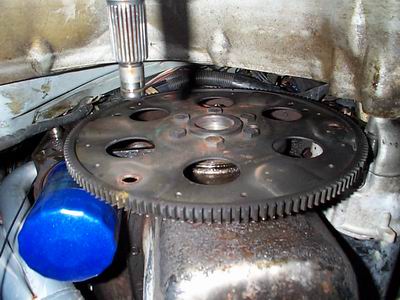 |
17) Inspect flexplate for damage
|
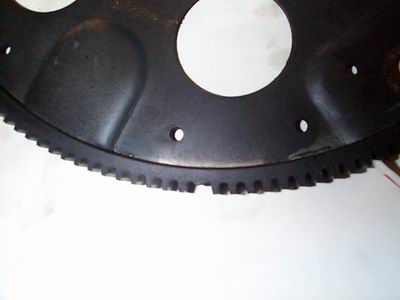 |
I found a broken tooth - I'm glad I looked!
|
Removing the flexplate:
Note the direction of the indentations on the flexplate - you don't want to install it backwards...
Remove the bolts
Pull off the flexplate
|
Installation Tips:
Fill the torque converter with 1 qt of transmission fluid before installing.
You'll need to be patient - it doesn't take the fluid quickly...
When installing the torque converter, make sure it engages fully.
There will be 3 "clicks" - the first one is going onto the (inner) lock up shaft.
The 2nd is the (outer) input shaft.
The 3rd is the front pump. You'll notice the 2 square cutouts on the torque converter.
These engage to matching pins on the front pump.
To verify all the way in, you shouldn't be able to put your fingers between the torque converter
and the tranny where the pan bolts up to.
When raising the transmission back in place, watch the routing of the tv cable & dipstick as they move up...
Make sure you don't pinch any wiring when you put the tranny back in place...you'll cut them & have lots of fun...
The dipstick bolts to the bellhousing - if you don't reattach it, you will have a leak...
Add 4 quarts of fluid if you are not also changing the fluid. if you are then add 8 quarts.
Start the car. Shift through the gears all down then back to park. Check fluid. Add as necessary until full.
When attaching a speedo cable, don't grab the pliers to torque it on if you have the original plastic speedo adapter...
I now have a new metal one....DOH!
Some tips from "mccradyr" on the Cross-Fire Injection Vault forum...
Check the gap between the converter bolt pads and the flexplate.
If there is too much space between the two, the converter will be pulled slightly
from the tranny and cause pump damage. If more than 3/16ths of an inch,
shim up the gap with hardened flat washers and buy slightly longer GRADE 8 bolts.
Another consideration. Remove the paint from the nose of the converter and apply grease to this location.
In addition, remove any rust or dirt from the crankshaft hole where the nose of the converter fits into
and apply grease there, too. Not doing this can cause the converter to not line up properly
and bind when tightening the converter to the flexplate.
The flexplate is just that... A flexible plate. It isn't rigid enough
to force the converter to line up properly should it bind at the crankshaft floating point.
You'll know if this happens immediately upon starting the engine.
A severe vibration will be intuitively obvious!
|
|
Thanks to Robert for the instruction and the use of his classroom! | |