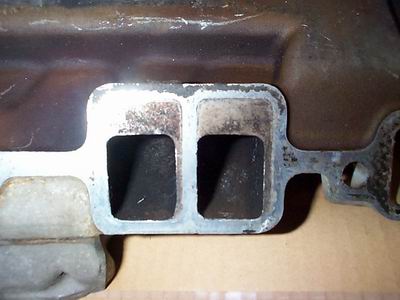
Porting the manifold on the stock 305 shortblock and adding a 2100 stall torque converter cut .35 off my e.t....from 15.75 to 15.4...
UPDATE! - See the bottom of the article for the mistake I made - PAY ATTENTION!
Parts Used:
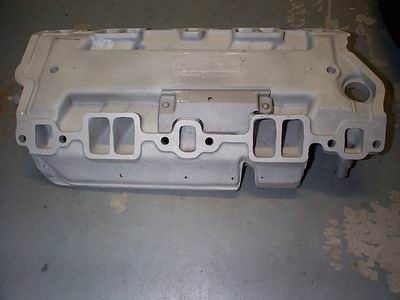
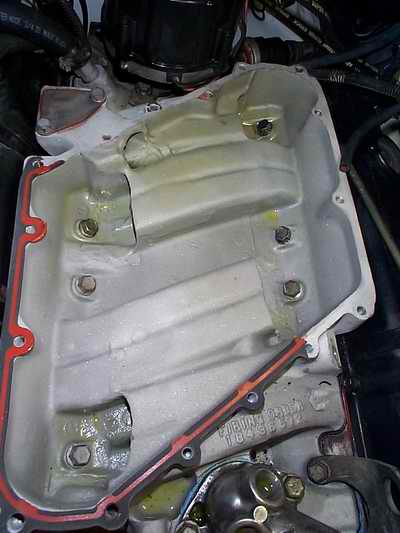
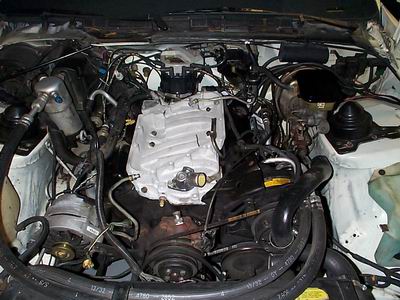
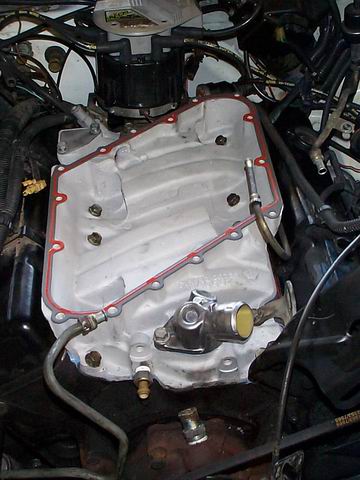
Note the EGR block off plate...
2) Drain coolant
3) Move alternator out of the way, and remove bracket that attaches to manifold
4) Remove A/C support brace that attaches to manifold
5) Remove upper radiator hose
6) Remove heater hoses
7) Disconnect vacuum hoses from intake and throttle bodies (labeling them is a good idea!)
8) Disconnect all wiring for EGR, IACs, Injectors, O2 sensor, ground (on an intake stud), CTS (look at the wires - these tend to bend and lose their insulation), etc
9) Disconnect throttle & TV (transmission downshift) cables (and cruise control cable if equipped)
10) Remove throttle & TV cable brackets
11) Air cleaner studs
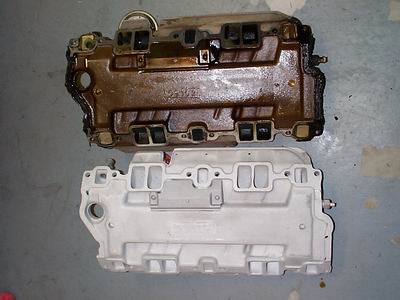
12) Remove intake top plate
13) Mark #1 on the distributor cap
14) Remove the distributor cap
15) Mark the rotor position (I used a crayon on the firewall)
16) Remove distributor clamp and distributor
17) Remove the thermostat housing and thermostat
18) Remove oil pressure sending unit (I think its only in the way on the f-bodies..) to access the rear most intake bolt
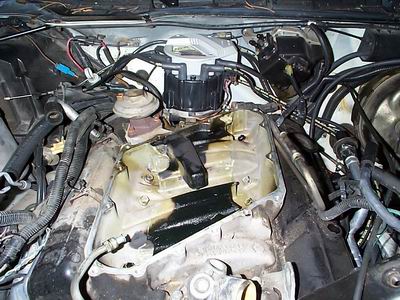
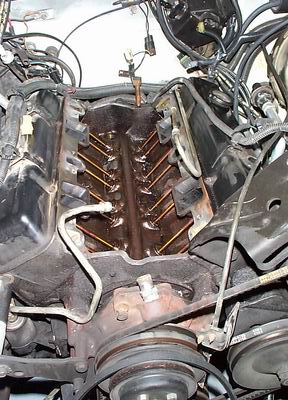
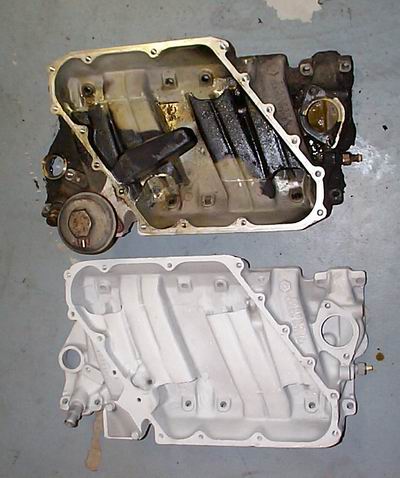
19) Remove the intake manifold (12 bolts)
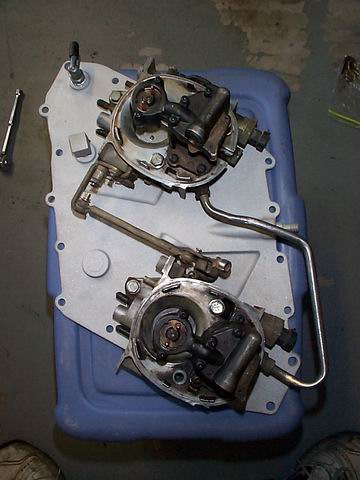
20) Remove the throttle bodies from the top plate (2 bolts each)
21) Clean, Clean, Clean - the bottom of the thottle bodies, the heads,the thermostat housing, etc... make sure when cleaning the head where the manifold attaches, you put something in each port and in the lifter valley. That way you catch most of the small stuff so it doesn't get into the motor
22) Move CTS sensor, or install new sensor in new manifold
Some items to note:
1) Intake manifold torque sequence - I was told to start with the middle bolts and do a circle of the inner bolts, then move to the next set out, do a circle with those, then keep moving outward. Hard to describe - maybe I'll do a graphic :)
2) There are multiple schools of thought on intake sealing - i used the blue silicone on the ends, without the cork pieces. Use the blue silicone around the water ports when installing the intake gasket - that way you do not end up with a water leak into the lifter valley...then you would have to do all this again!!!
3) I used teflon tape on the fuel connections into the throttle bodies
4) I used the red silicone around the two holes for the egr, then bolted the plate over them
5) Check your timing once you get it all back together.
I didn't rebuild the throttle bodies this time. I will likely have a set bored in the future, so i'm procrastinating for now.
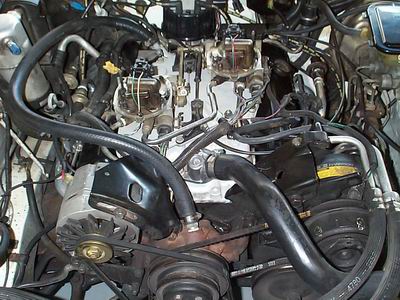
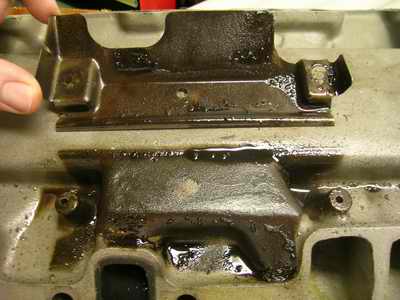
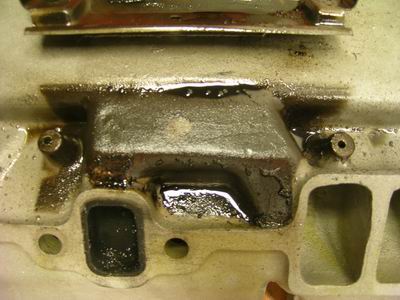
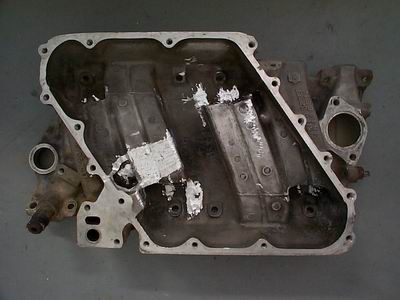
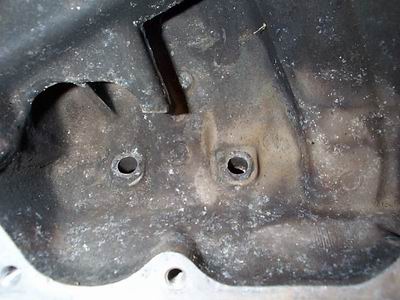
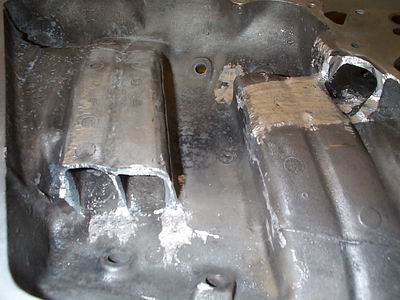
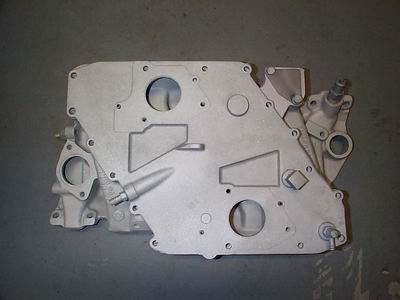
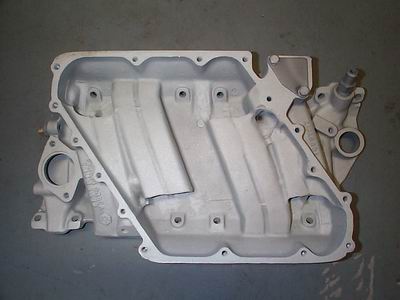
Since I had the manifold back off to replace the heads & cam, I decided to rectify the situation...Here's what I found...