How to convert from belt-driven clutch fan to dual electrical fans...
|
I really want to create a ram-air setup for my camaro using the TPI dual filter setup. To make this work however,
I need to switch from the clutch fan to electric fans, so that I have room above the radiator shroud for the air "
snorkel". I came across a great deal on the fans, so off I went...
Parts Needed:
|
Upper radiator shroud
Lower fan mount - GM PART # 10055083 - I ordered this new from a GM dealer - about $9.50
 2 Electric fans
Fan electrical connectors (2) or a dual fan harness. I obtained the connectors from 2 V6 junkyard cars.
2 conductor wire to run from the fan connector to relays
Fuse kit - I used a 30 amp inline fuse
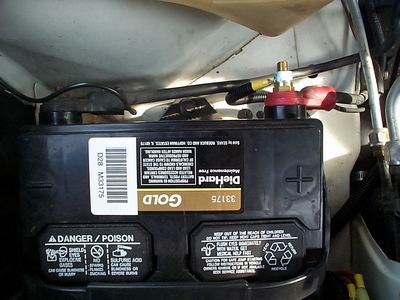
Battery connection - I used a side terminal adaptor with accessory mount
1 or 2 relays depending on your control mechanism - see below for more commentary.
Your favorite electrical connection accessories - electrical tape or solder or crimp connectors, etc
Split tube loom - I used some 1/2" for the fan wiring.
Split tube loom holders - I used (2) 1/2" holders attached to the fans.
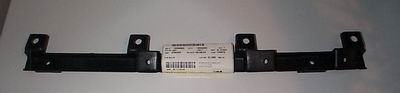
Body U-Mounts and bolts - see the diagram for details
|
|
Fan Control - there are many theories on how to control the dual fans. I will start with simplicity -
both fan relays will be energized by the ignition circuit. If this proves to be too much load on the
alternator, I will rethink the plan. In the summer, I don't see much of an issue with this setup.
Eventually, I will have one fan controlled by engine temp, and the other triggered by use of the
air conditioning. I will likely also have a manual override switch to run both fans on demand.
|
| Click on bordered images for full size... |
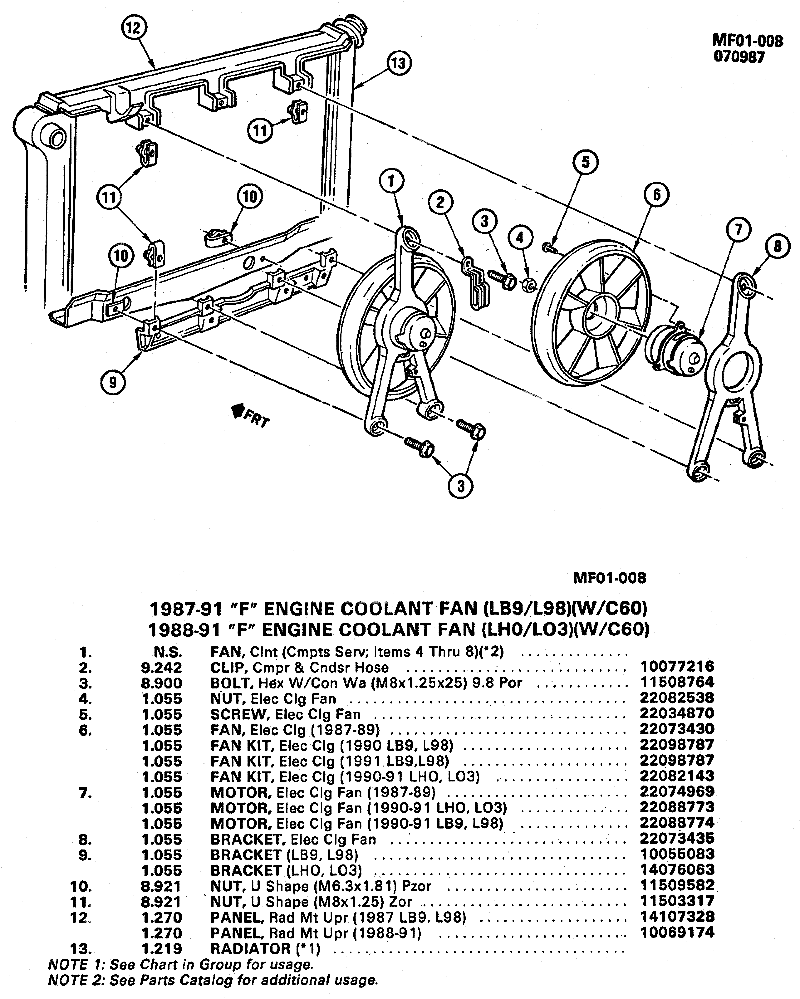 |
This is a diagram of the dual fan setup
|
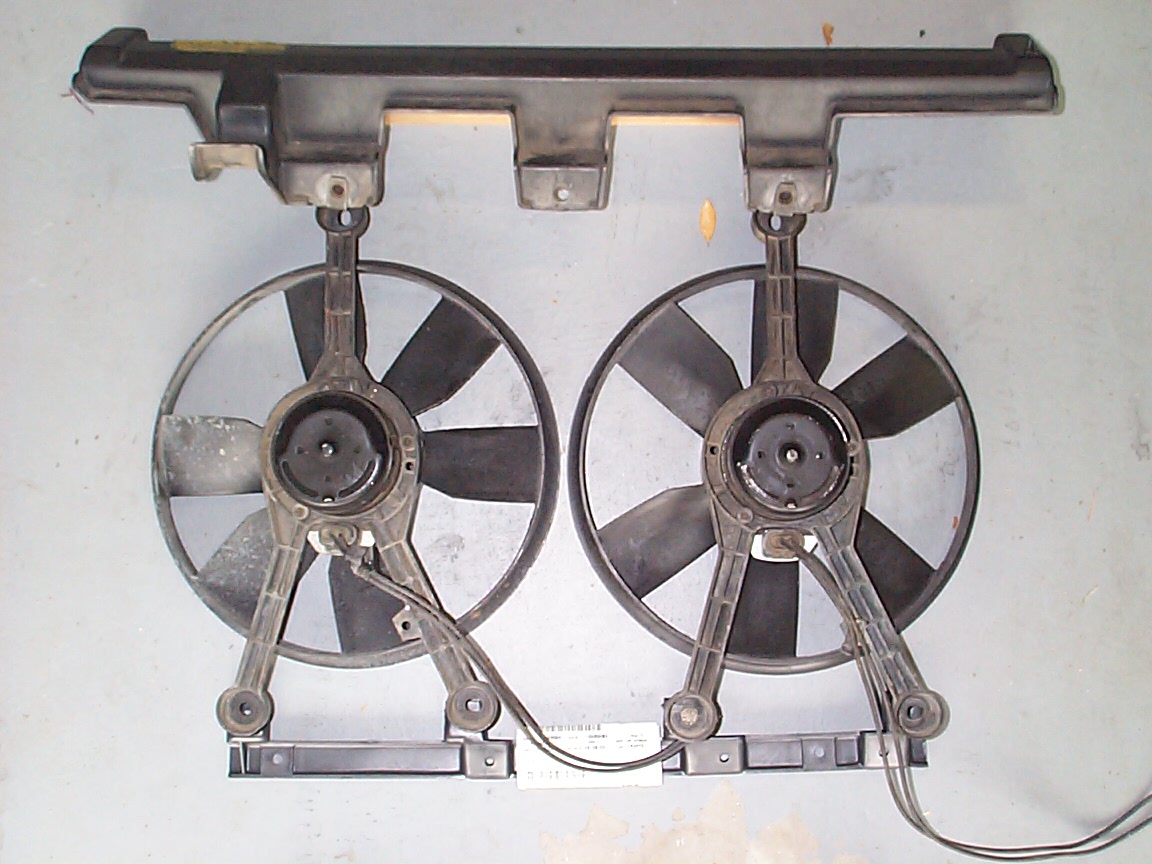 |
This is a mock-up of the fans & brackets.
|
Instructions (as I remember them, your mileage may vary!)
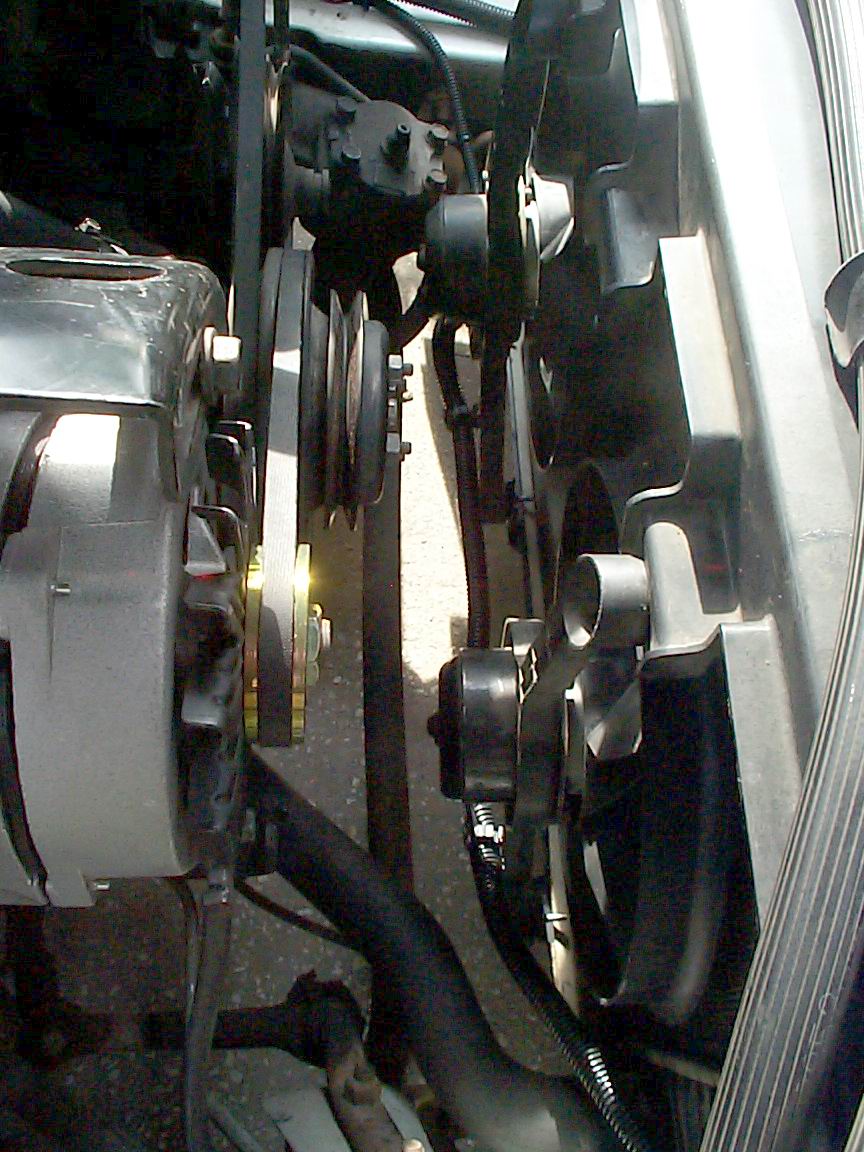
1) Remove clutch fan nuts
2) Remove clutch fan
|
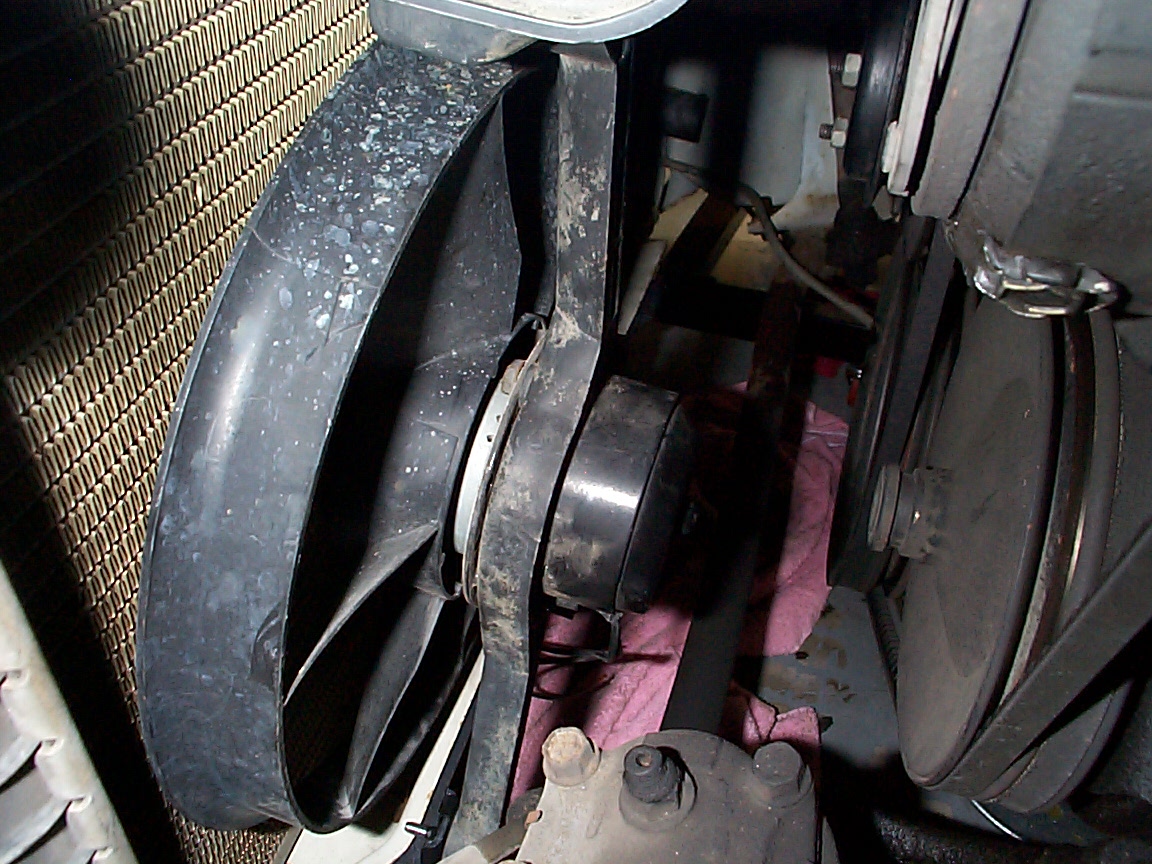
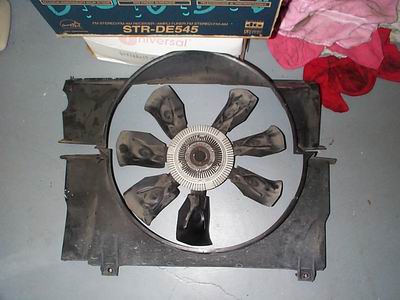 |
Pic of old shroud & clutch fan...
3) Replace clutch fan nuts
4) Remove bolts that join upper & lower radiator shroud
5) Remove upper radiator shroud bolts and a/c hose bracket (on one of the shroud bolts)
6) Remove upper shroud (I pulled mine up - be careful with the A/C hoses - mine leaked quite a bit during this operation)
7) Remove lower shroud bolts
8) Remove lower shroud (I pulled mine up)
9) Clean between radiator and condensor
|
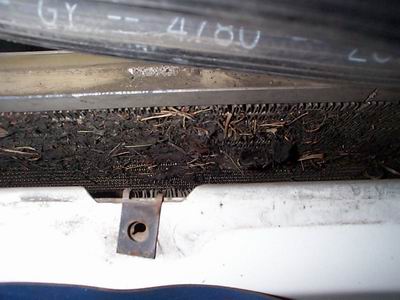 |
Lots of crud between radiator & consendor...
|
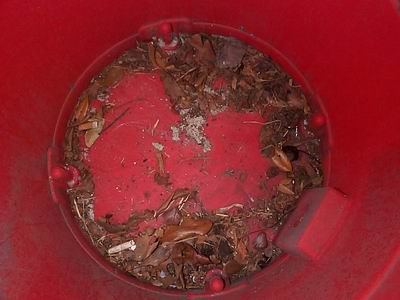 |
This is the crud in my shopvac...Yuck...
10) Mount upper shroud, make sure it has radiator rubber mounts and the u-bolts for the fans
|
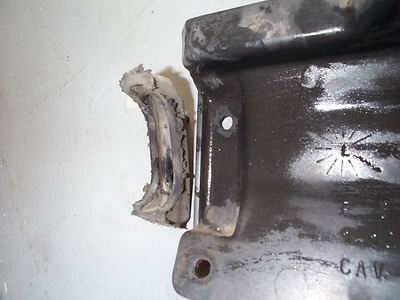 |
The upper bracket from the donor car was missing a rubber mount, so I moved it off the old shroud...
11) Move u-bolt from old shroud mounting location (passenger side) to the location closer to center
12) Mount lower fan bracket, make sure it has the 4 u-bolts for the fans
13) Mount fans
|
 |
Pic of one of the new fans after mounting...
Gotta love the special coolant absorbing pink towel...
14) Check alignment - I shimmed one fan (with washers on the lower mount) that appears to have a slightly twisted bracket
15) Attach fan electrical connectors and carefully power up each fan to check for movement or obstruction. I used a 12v battery charger for a quick test
16) Extend fan electrical connector wiring using 12 gauge wire (same as connector)
17) Wire fans to relay(s) depending on your fan control method
|
 |
Relay Wiring pic #1...
|
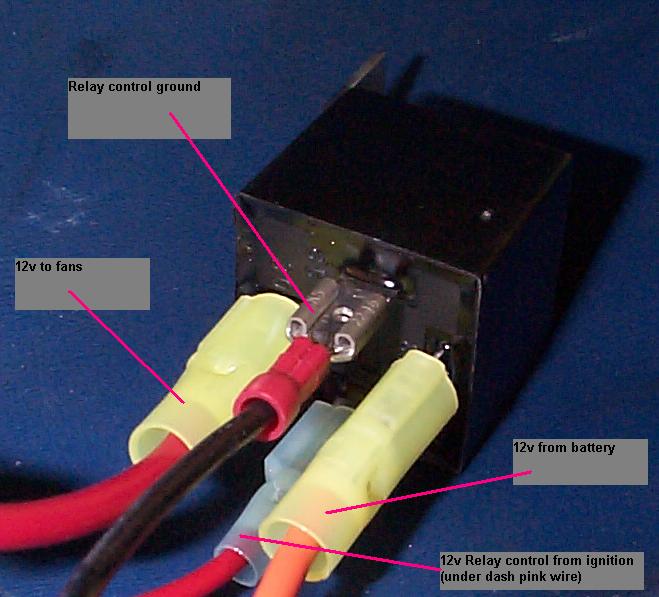 |
Relay Wiring pic #2...
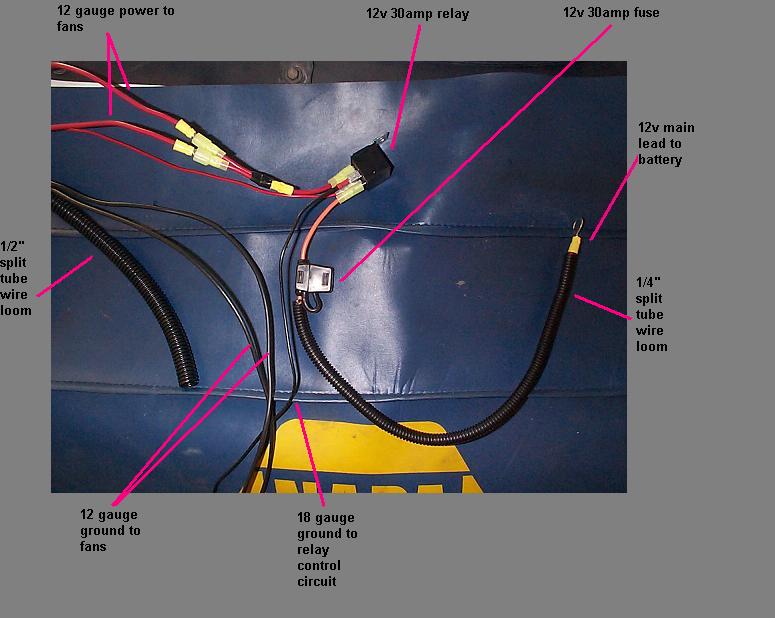
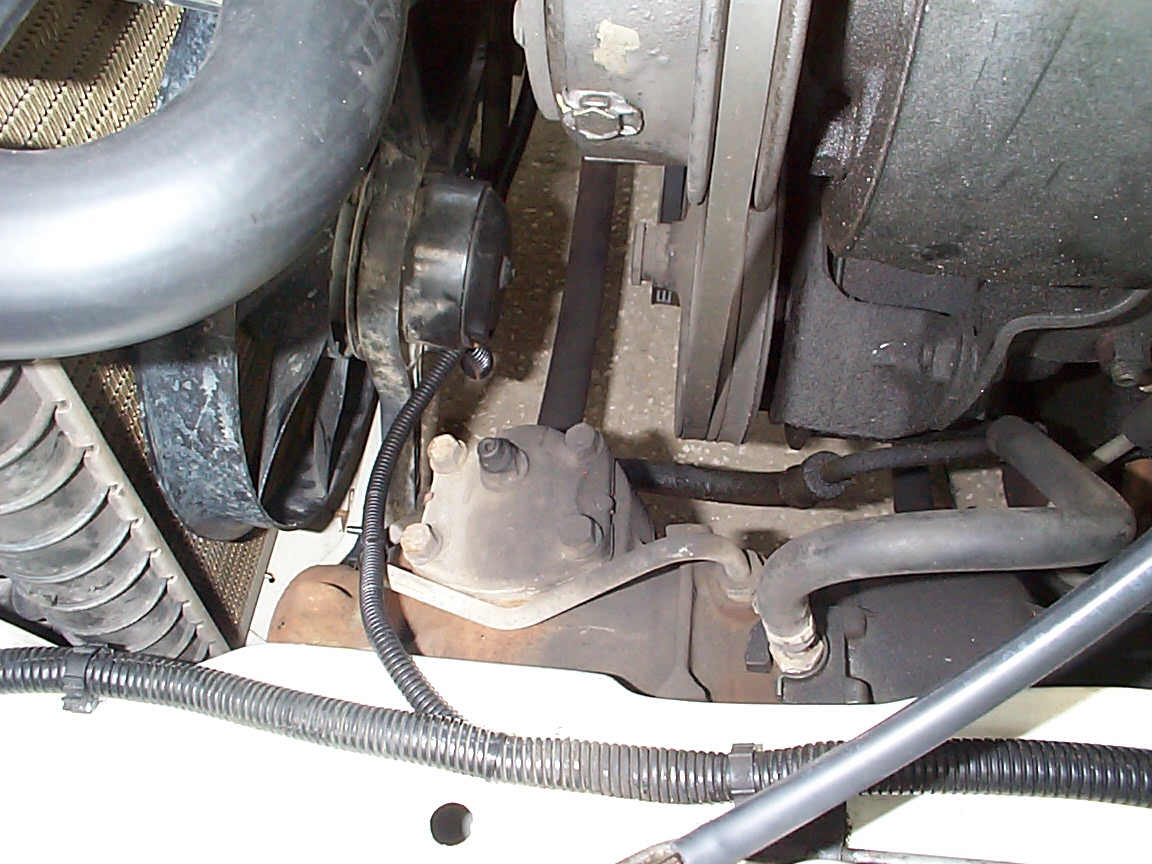
18) Wire fans to ground (I used a body ground by the battery (see the relay mounting pic)
19) Wire relay to fuse, then extend fuse lead to battery (I added a side battery terminal extender, and used a 30 amp inline fuse with cap)
20) Wire relay to control and ground (I used a new ignition lead run through the firewall, along the driver's side, then over to the fan wire loom)
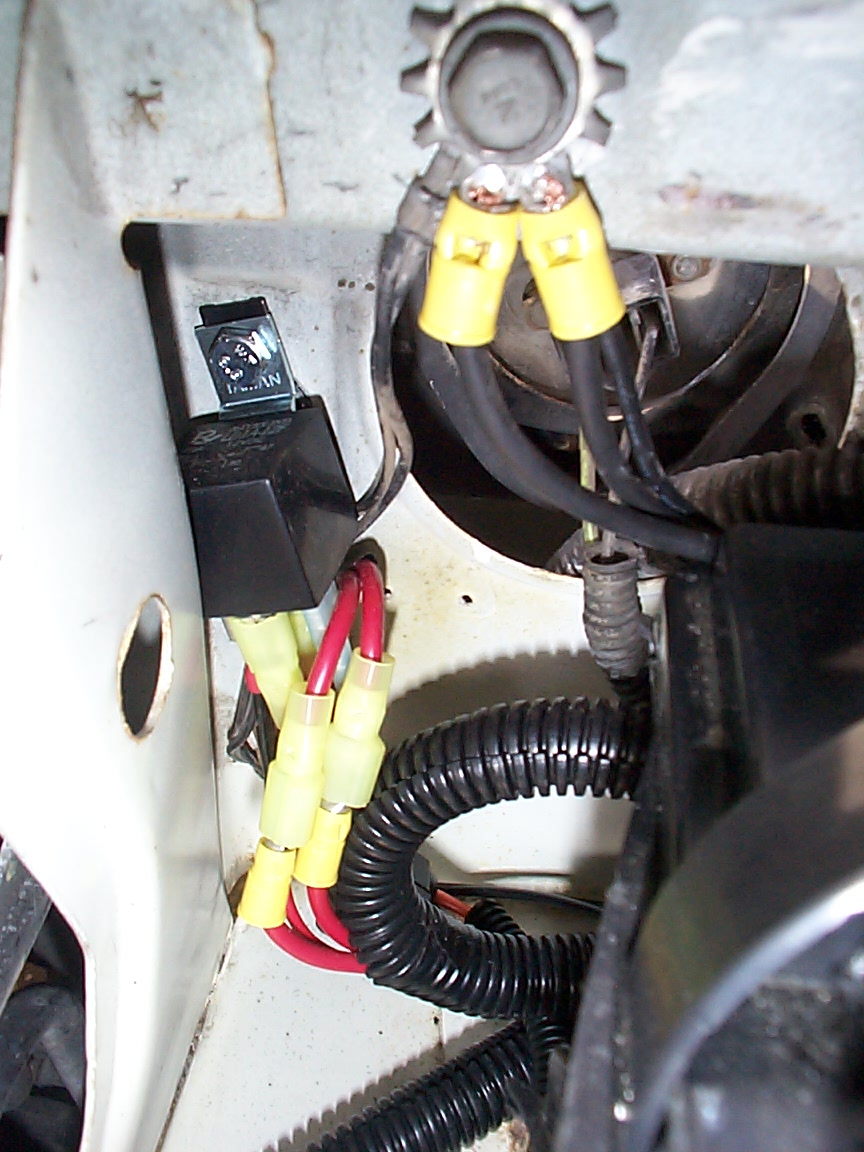
21) Mount relay using u-bolt (Mine is between the battery and the passenger headlight - see pic)
|
 |
Wire looming pic #1...
22) Wire loom everything & use wire loom holders (there are holes in the fan brackets for them)
|
 |
Look at the nice wire looming job :>)
|
 |
Wire looming pic #2...
Questions? Comments? Know a better way? Let me know!
Email me at: icole at technovelocity dot com
|